It is not often I dabble in the Warhammer Fantasy Battles, I haven't played since 6th edition and have sold by Lizardmen, Dark Elves, & mishmash of Chaos and Beastmen. That said I have always had a soft spot for Skaven, which I use as my Hrud infantry (counts as Kroot). I have also been itching to take another shot a swamp terrain after doing a segment on a swampy Zone Mortalis boards. So when I had a request to do a Skaven Swamp themed display board. I was ready to go.
 |
| The riser section was cut from 1/2" insulation. I cut out a series puddles to add to the swamp feel |
 |
| The lower section was a challenge. If I used foam again, it would be too deep, but I need some edge to show that this area is raised above the water. I found cork board sold in large sheets which worked great. In hindsight, I would have cut them up into several small pieces as large pieces like this curl when painted |
 |
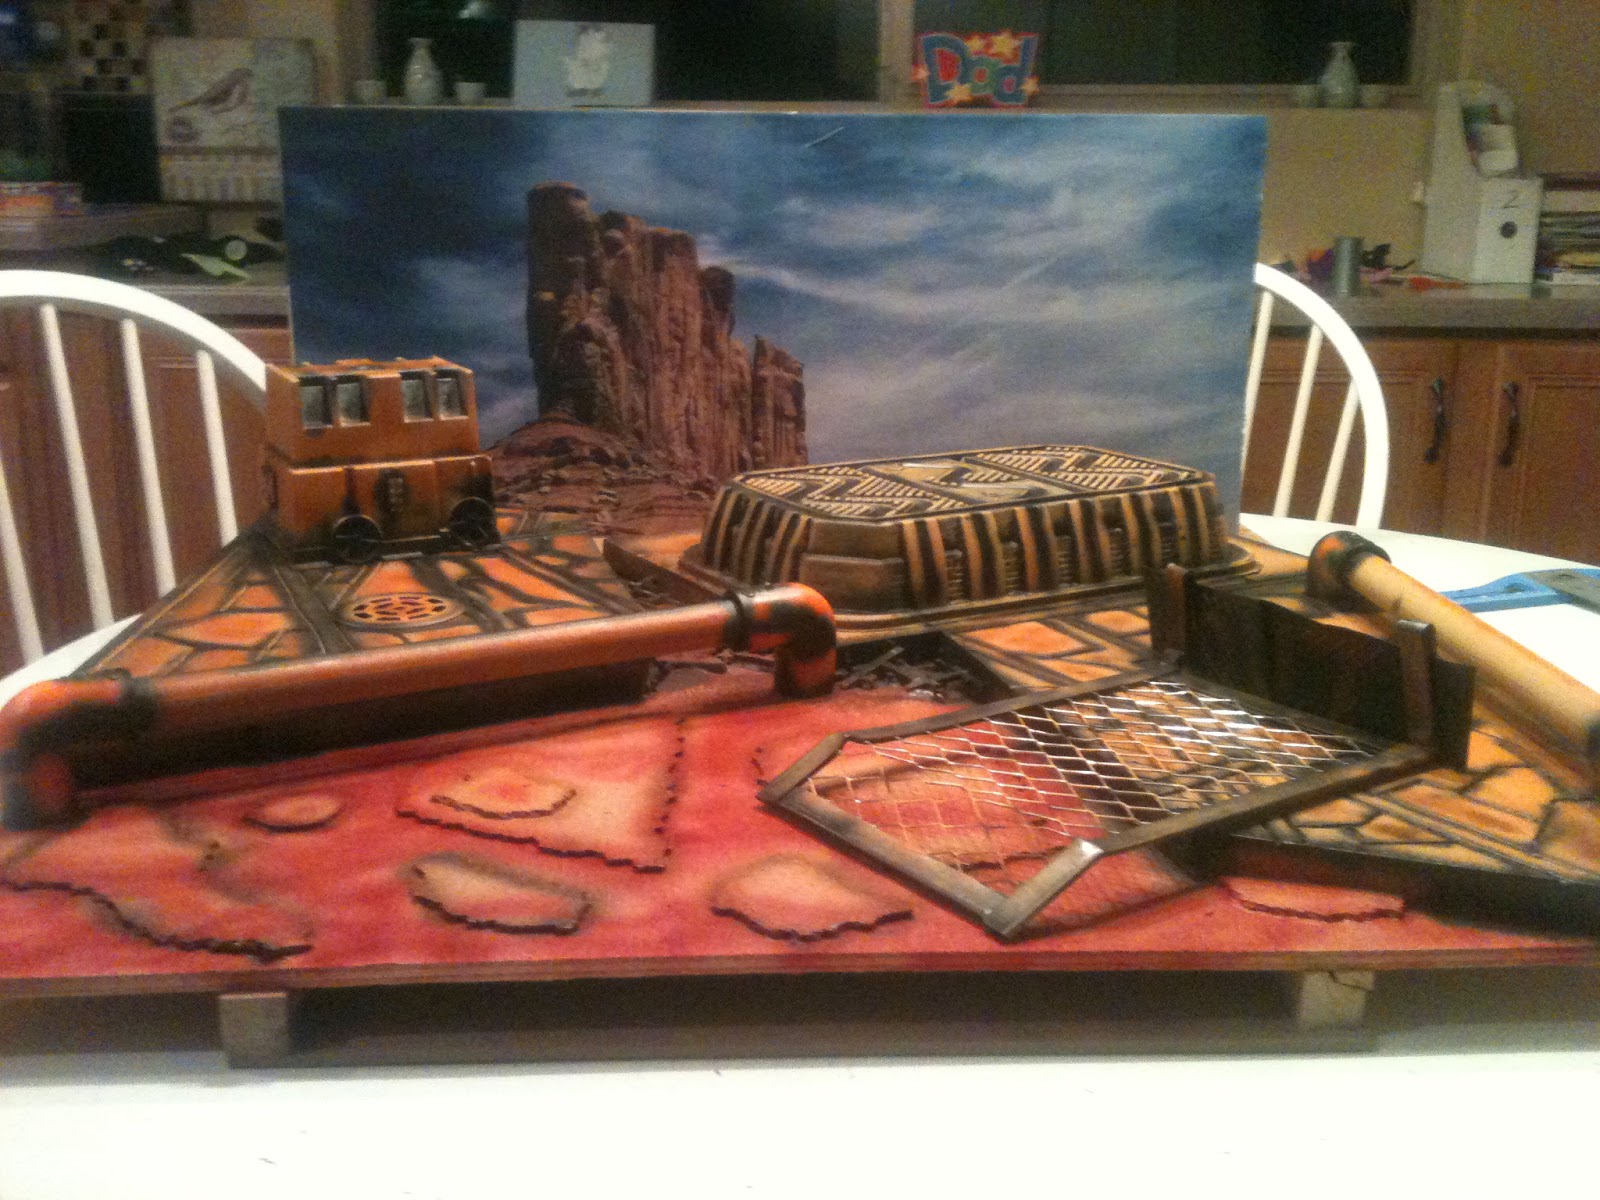
| Skaven armies tend to be large in model count. Whenever 2' by 2' if not enough for your army, adding a second level to a display board is both practical and cinematic way to get more space. To keep in theme of our swamp, I used insulation again to make a worn down boardwalk that would go over the swamp. I used an etching tool to simulate wood planks & nail holes |
 |
| Base coats done with Behr Deep Space |
 |
| Time to add some green. First I did the actually board.It was real easy to practice wet blending when you 4 square feet to work with. Then repeated the technique on the foam & cork. Foam unsanded has a fair amount of texture, so don't be afraid to dry brush for effect. Lastly I painted the middle of each puddle darker to give the illusion of depth once we add the water effects later |
 |
| Rotten wood is often grey with black & green mold. I should know from staining my deck for 14 years. I later added green flock for a more texture look to the decaying wood. The holes were cut with my plunge tool. This is a great trick. It gives a place to put my fingers during assembly. The holes are small enough so a figure won't fall through, but big enough so people can see the models underneath |
 |
| Using some scraps of foam I constructed the pillar for the boardwalk. The key was to get the height correct so models could easily fit underneath but still have a enough support to hold models (even metal ones) on top |
 |
| This may come as a shock: I am not a fan of the water effects. The old school mixing of two resins was always messy. The newer solutions still require a flat, level surface and to dam the areas to prevent overflow. With the small lip in the foreground, this was a recipe for disaster. Instead I used Glossy Medium that you apply with a brush. It worked great except for one thing: swamp water doesn't have waves. So I used a spackling knife to create flat water. Later I added my favorite Dead Fall Flock to make our swamp a little less neat. |
 |
| Added a swampy backdrop and we are complete |