The 11th Company 40K Podcast
Welcome to the 11th Company BLOG. The 11th Company is a Warhammer 40K podcast dedicated to players, strategies, and tactics.
You can download our episodes at the website, from ITunes, several podcast sites, or connect directly to the RSS Feed. We try to release a new Episode every Monday Night. Check it out!
Forums: http://the11thcompany.freeforums.org
PODCAST WEBSITE: http://www.tangtwo.com/11thcompany
PODCAST RSS FEED: http://www.tangtwo.com/11thcompany/podcasts/the11thcompany.xml
Podcast Archive: http://the11thcompany.libsyn.com/webpage
You can download our episodes at the website, from ITunes, several podcast sites, or connect directly to the RSS Feed. We try to release a new Episode every Monday Night. Check it out!
Forums: http://the11thcompany.freeforums.org
PODCAST WEBSITE: http://www.tangtwo.com/11thcompany
PODCAST RSS FEED: http://www.tangtwo.com/11thcompany/podcasts/the11thcompany.xml
Podcast Archive: http://the11thcompany.libsyn.com/webpage
Search This Blog
Monday, September 30, 2013
Thursday, August 29, 2013
Kevin's Display Board
My latest project is to build a display board for our resident Dr. Who fanatic. Leaving the grim, dark, 41st millennium behind, this board will based on Galiweg, Dr. Who's home world.
Unlike my previous board, the 24" by 24" dimensions will not work. This board needs to be dissembled to allow for travel. Here is what we have so far before we pour the paint and foam.
| Start with two halves, each 15" by 15" with a support beam that is glued in place with Liquid Nails |
| Here two 24" supports with drilled holes goes over both halves |
| Add the first top of the display board. Yup, you will have two drawers to store books & templates |
| Both halves attached, giving you a mighty 15" by 30" board |
| A simple screw with a wing nut makes set up easy with no need for tools |
Ultramarines Display Board Tutorial
Over the past few episodes you may have heard me refer to "The Client" and his display board. The project is finally done and he has received his board just in time for Feast of Blades. This week I peel back the curtain to show how it was made.
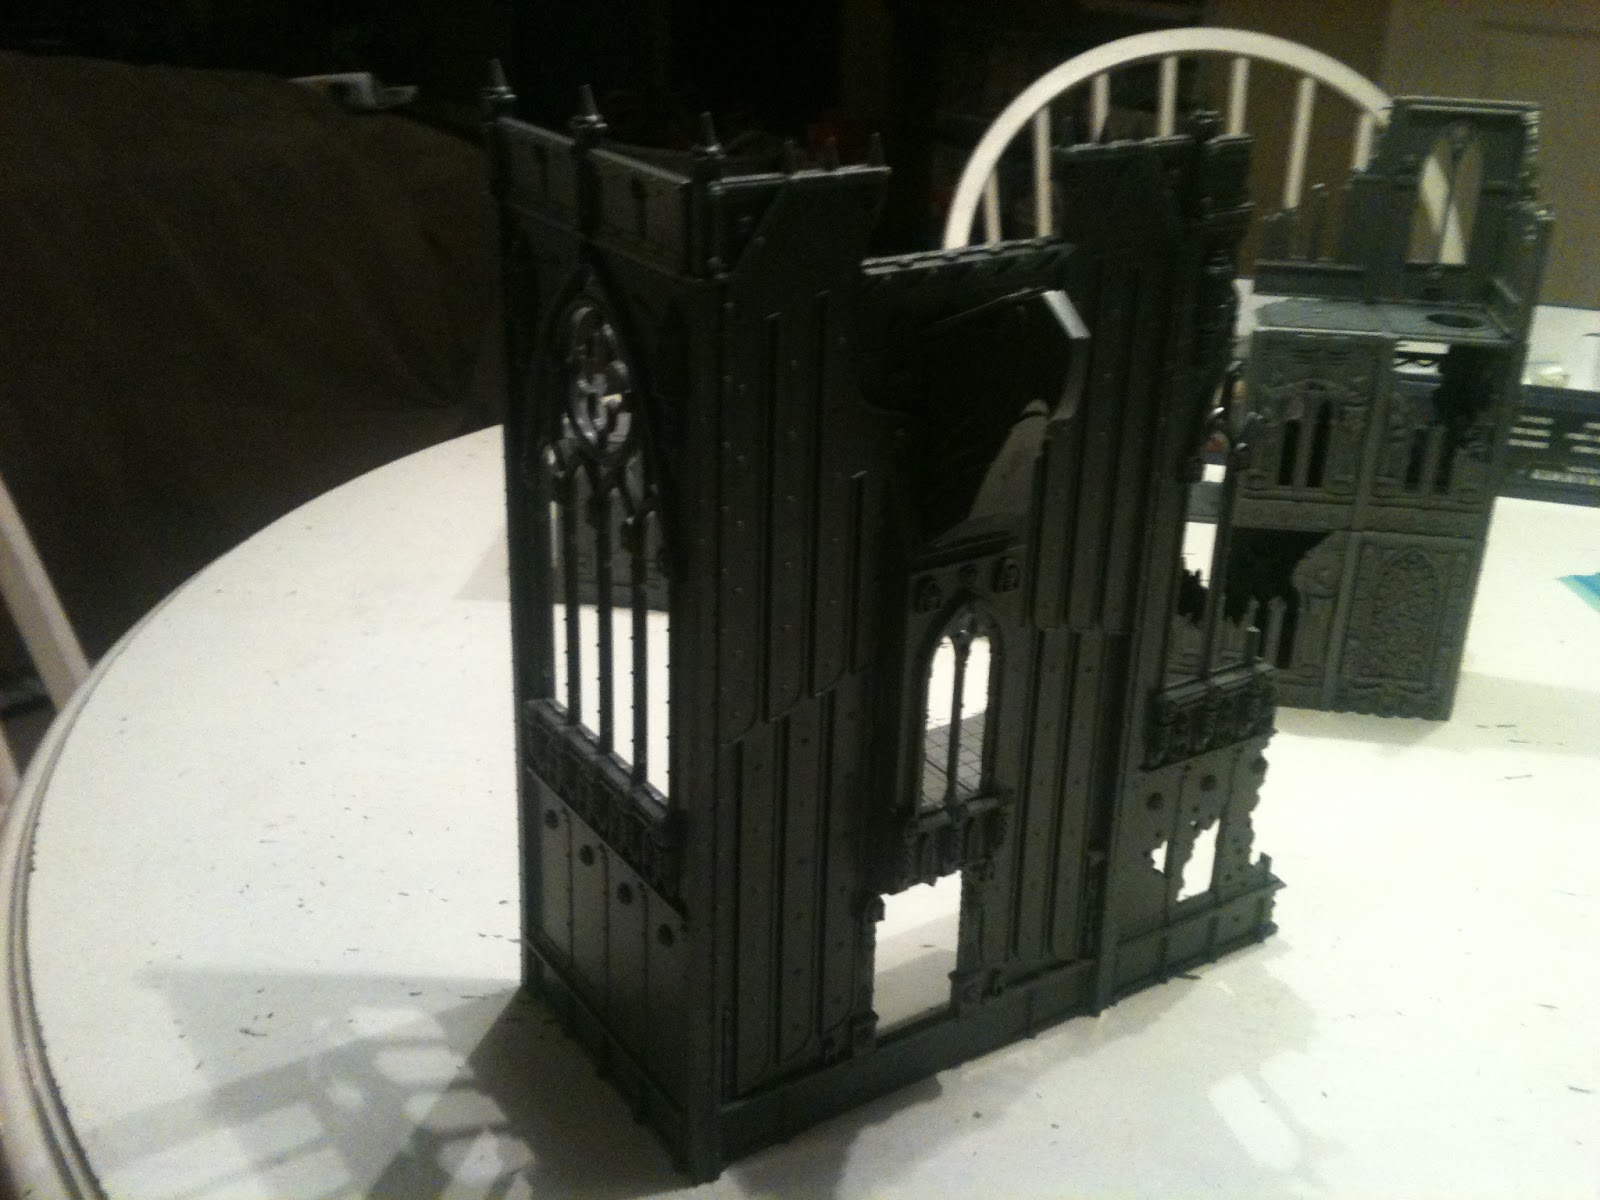
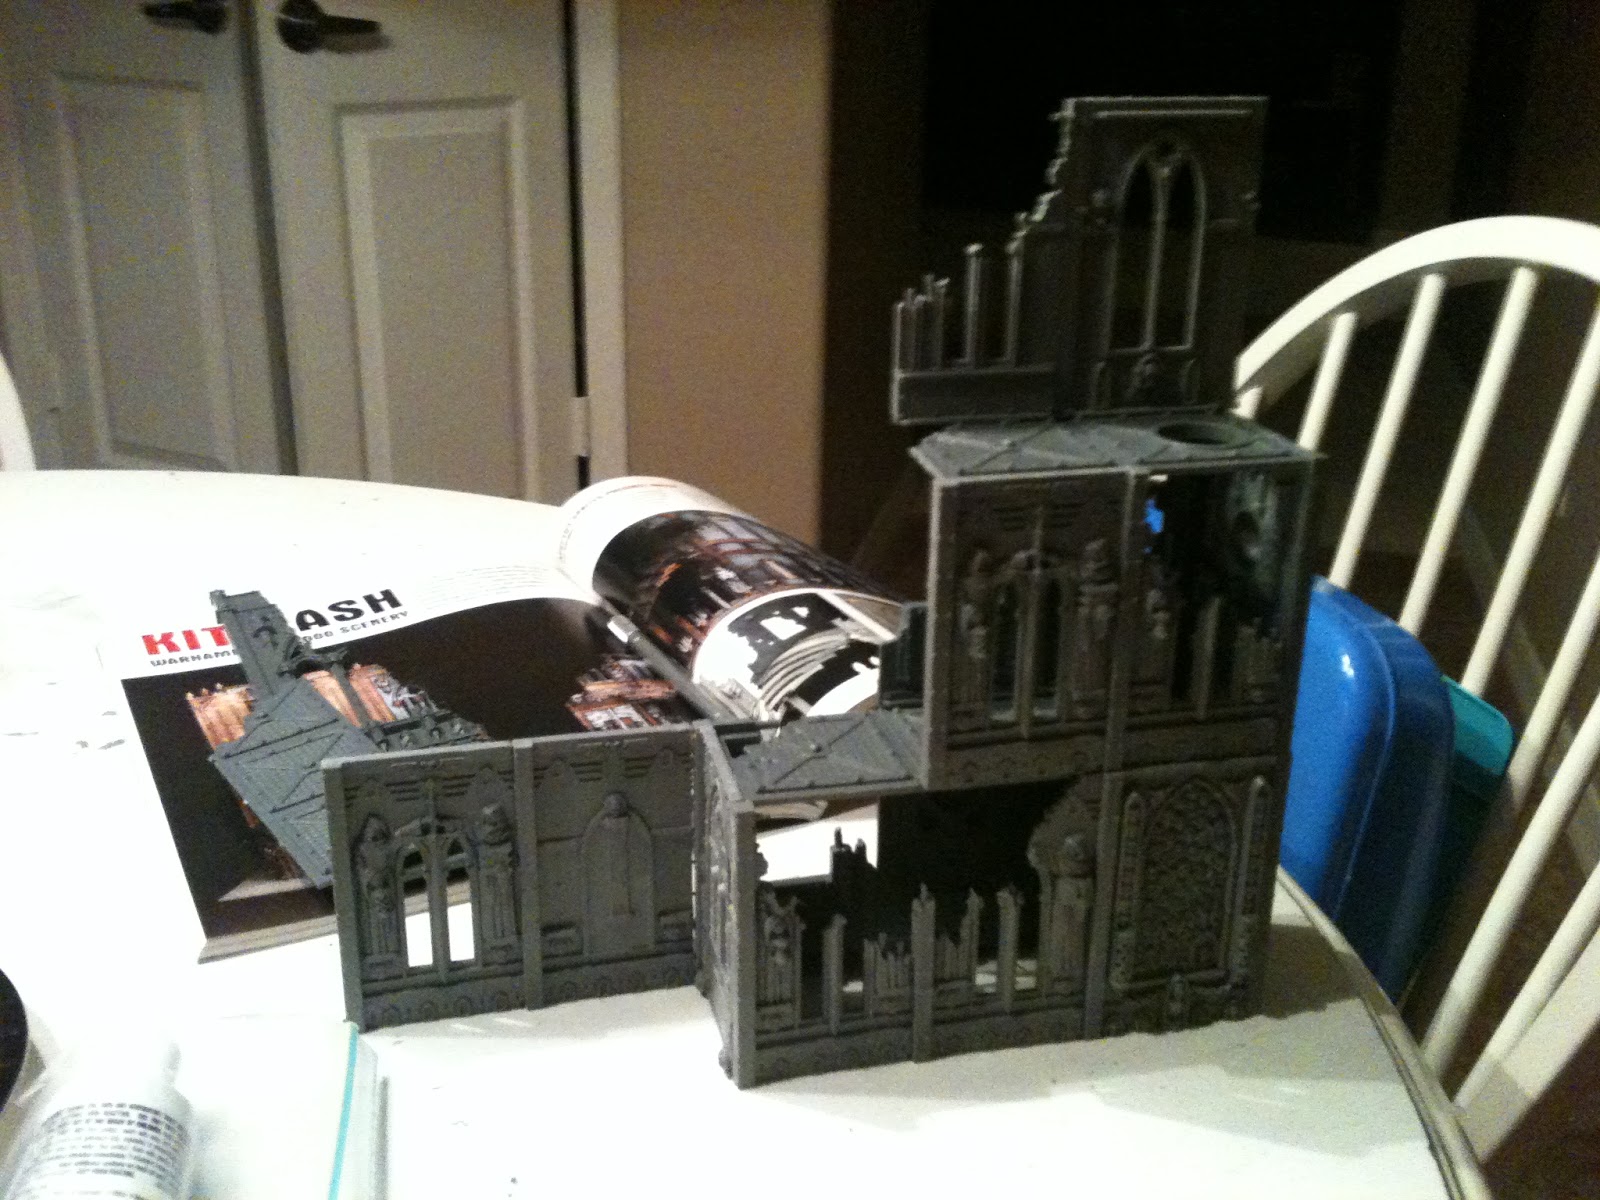
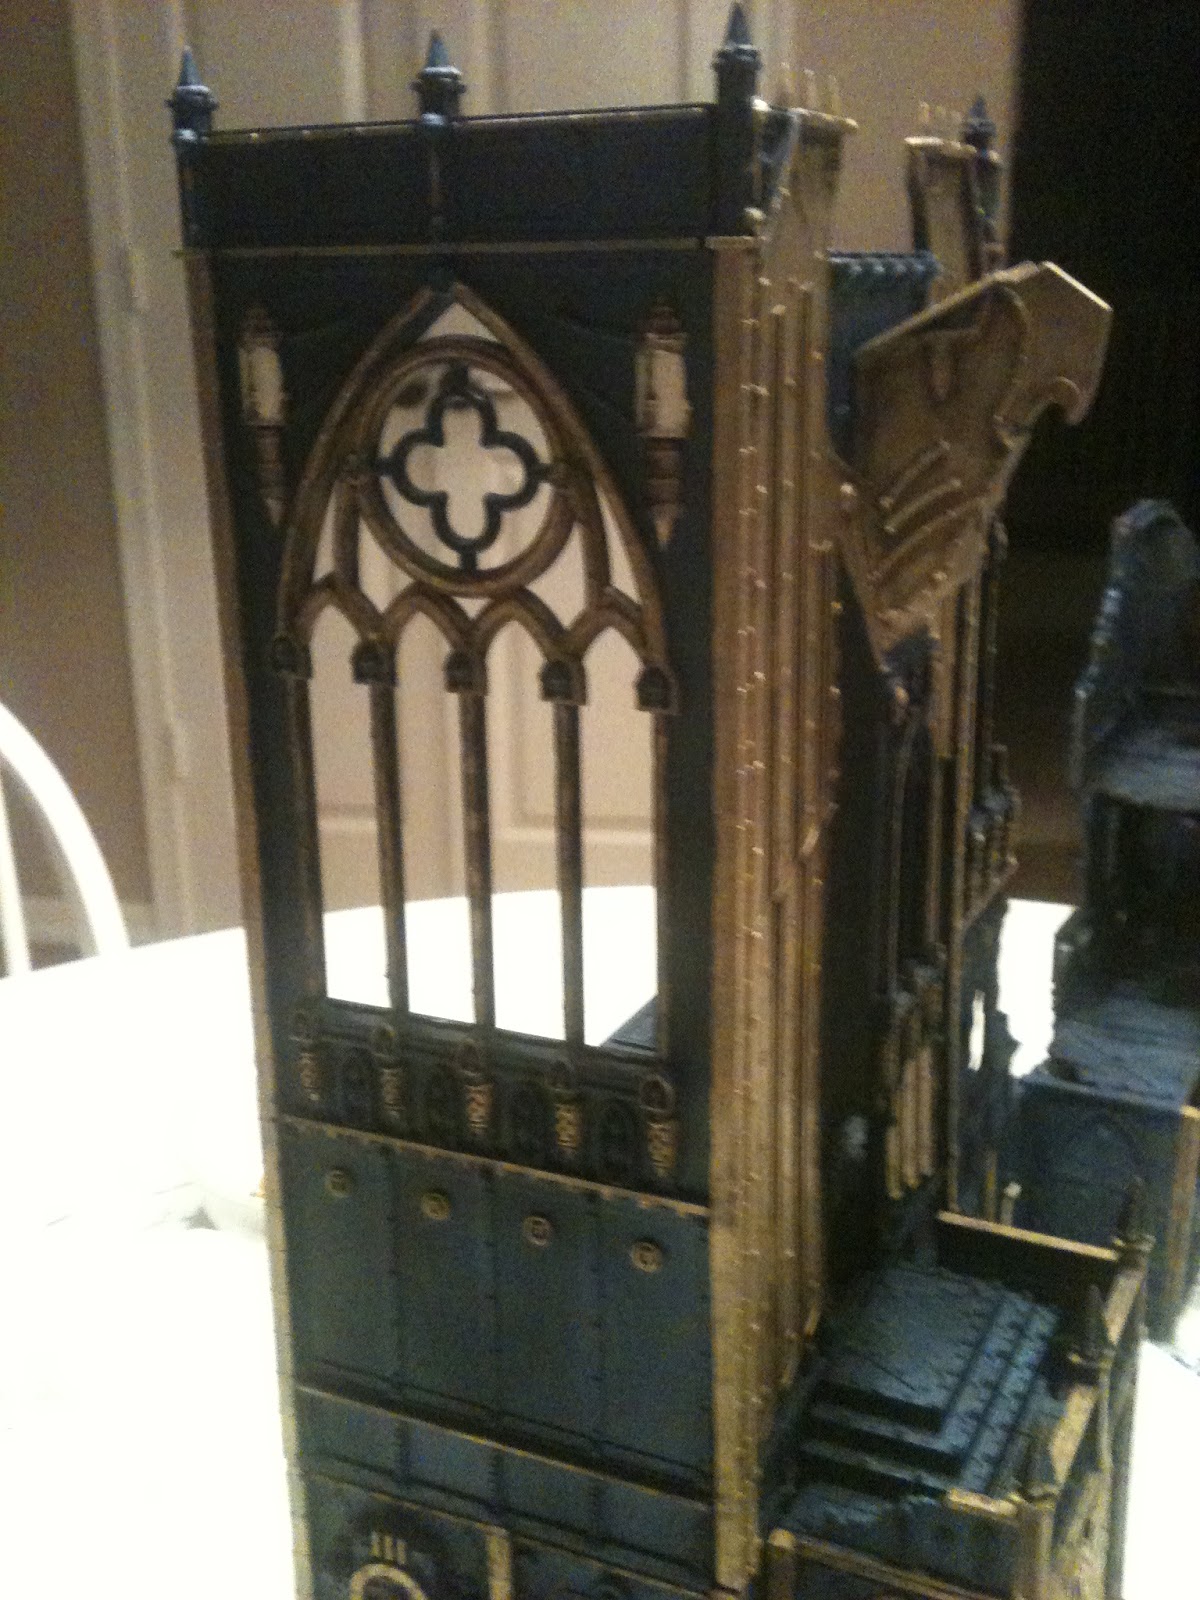
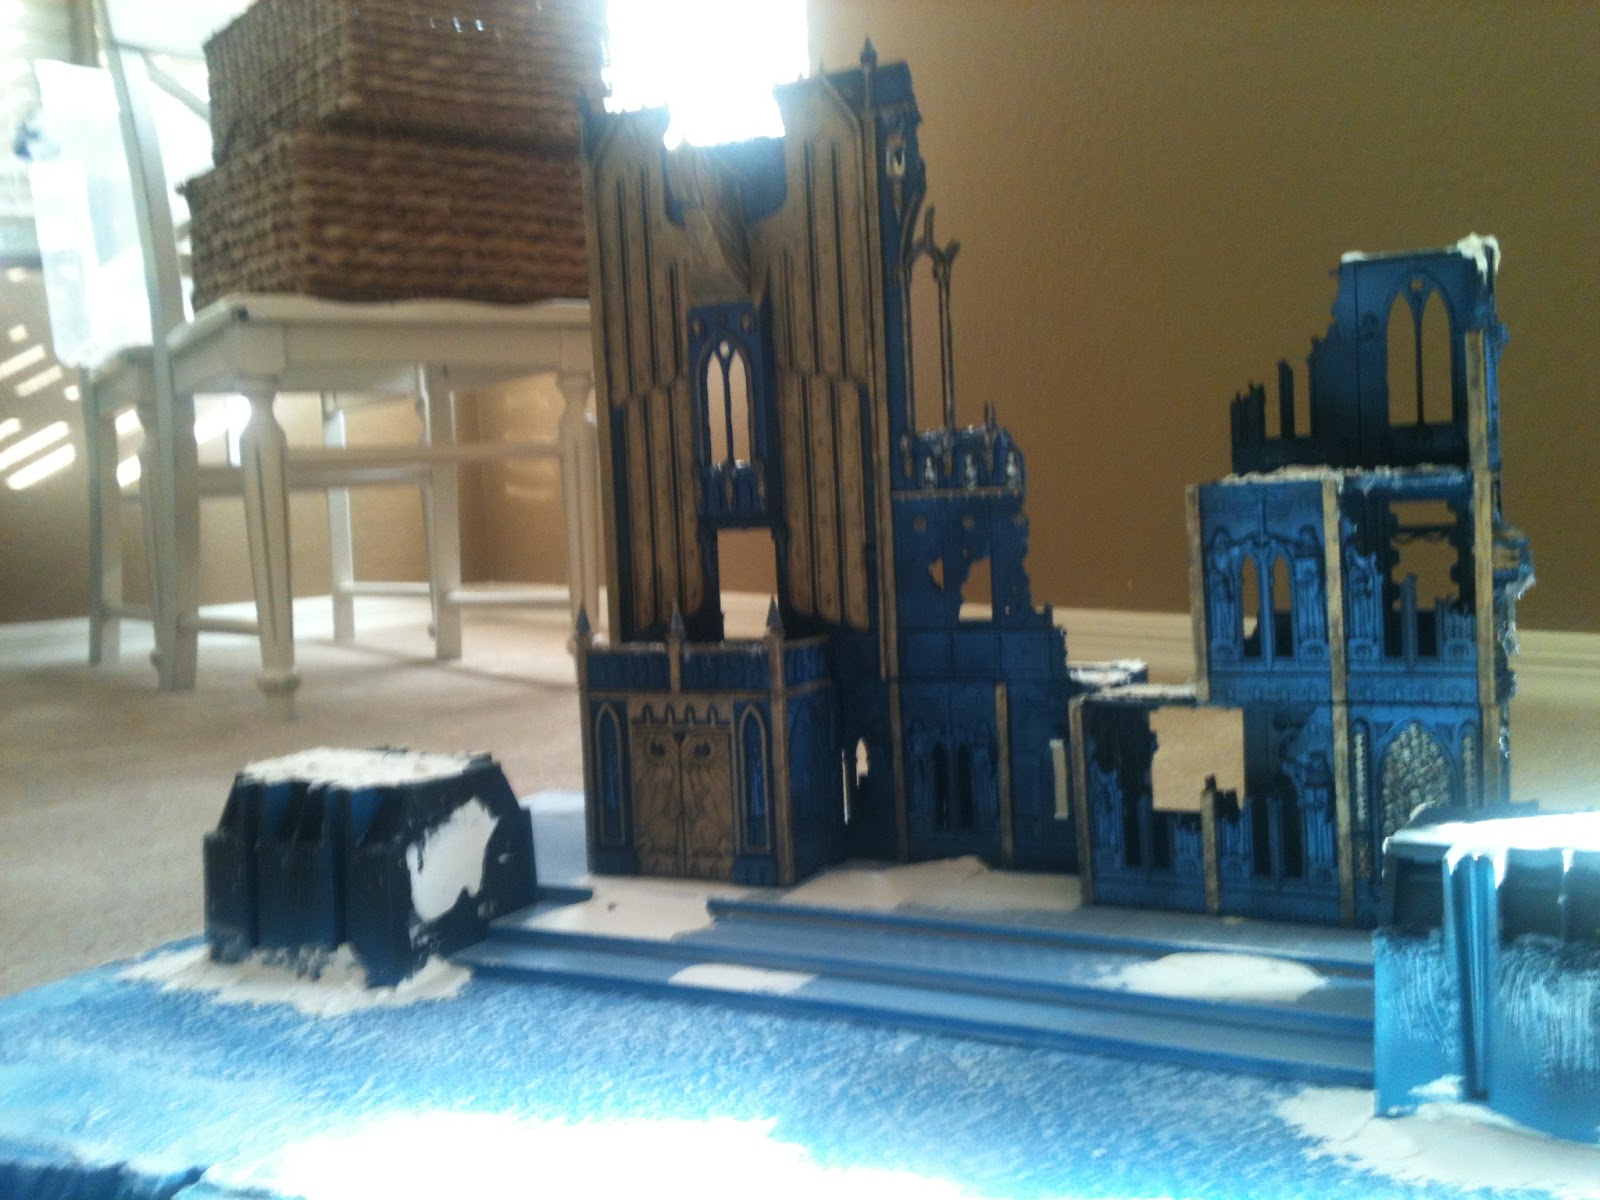
Whenever some ask me to make something "I saw in White Dwarf" I know I am in for a challenge. In this case, the goal was to recreate the Ultramarines Judgment Hall from the White Dwarf.... I can't remember which number. It has the new Dark Angels on the cover. Additionally, he wanted the rest of the board to reflect the rocky, arctic conditions of Macragge, the Ultramarines home world.
| Start with a 24" by 24" piece of Pineboard |
| Ribs provide the board with strength so the board doesn't bend |
| Plus it makes a great drawer for your books |
| Display boards need steps to allow the back figures to be seen |
| Before construction, use stand ins to visualize the concept |
| First layer of texture wallpaper is applied |
| Both layers now textured |
| The structure is primed black, then layered with Vallejo Air Metallic Blue |
| Screws make the base easy to remove for travel |
| Junction Boxes frame out the sides of the board |
| Thin pieces of wood make a crisp realistic steps |
| The entire board is painted with Behr Downpour Grey |
| Board is dry brushed with White |
| The board was then airbrushed with blue to give the arctic look |
| Close Up the texture after the airbrushed blue |
| Final highlights done with white |
| Close up of the texture with the final highlights of white |
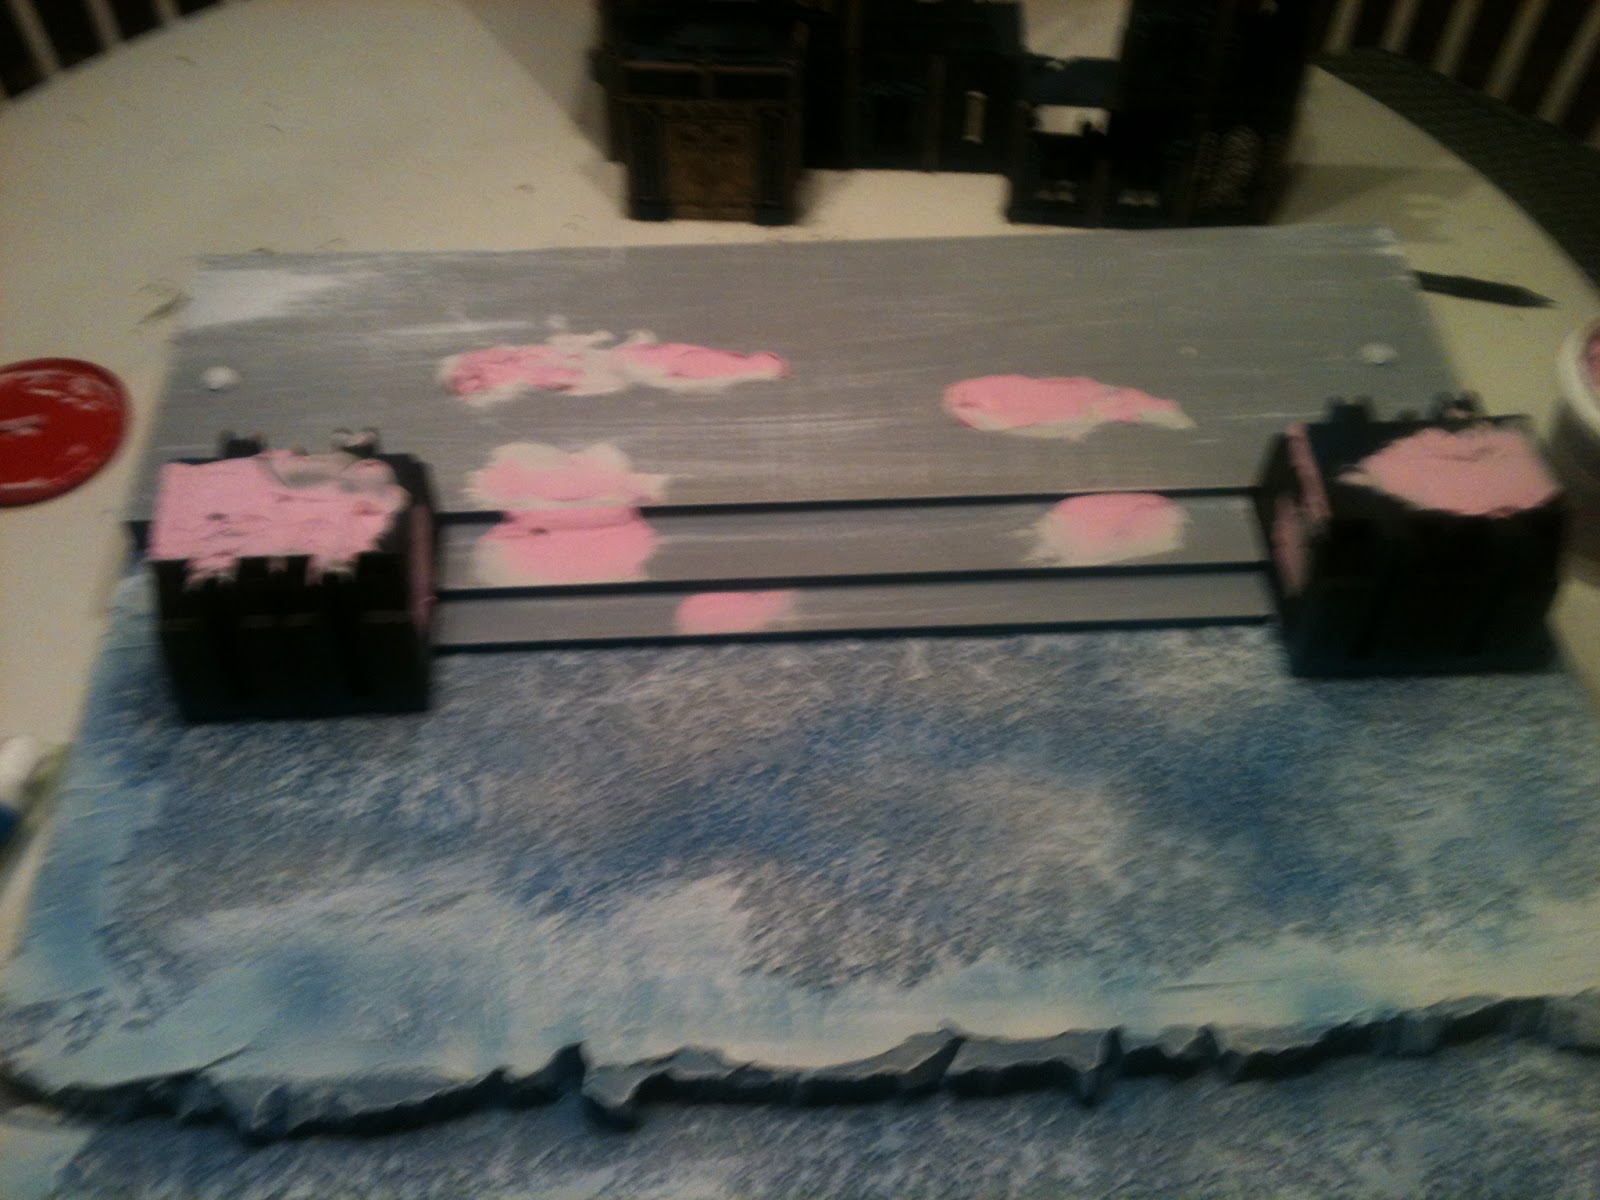
| Time to add some snow. |
| This ordinary joint compound that will dry white |
| Next, use clear caulking to create icicles from overhangs |
| Notice the Top Secret weapon to create the effect |
| Final product |
Hope you guys enjoyed this. Comments always welcome.
Subscribe to:
Posts (Atom)